<>
Sure! Here’s a sample blog post on creating personalized pies for gifts: — How to Make Personalized Pies for Gifts Pies hold a special place in the world of culinary delights, often invoking feelings of warmth, comfort, and joy. Whether it’s for a birthday, anniversary, or just because, a personalized pie makes for a thoughtful gift that’s sure to be cherished. This blog post delves into the delightful world of pie-making, focusing on how to craft these delicacies tailored to the recipient’s tastes and preferences. We’ll explore the materials and ingredients you’ll need, followed by step-by-step instructions to create these culinary masterpieces. We’ll even introduce you to a unique pie variant, the Chonky Boys: The Chocolate Chip Cookie Ice Cream Sandwiches that Scream Summer! Join us as we take a bite into the art of personalized pie-making and learn how to create the perfect edible gift. —
Subscribe!
Before we dive into the world of pie-making, consider subscribing to our newsletter for monthly updates filled with creative recipes, baking tips, and trending culinary arts. As a subscriber, you’ll gain access to exclusive content designed to elevate your baking prowess and inspire new projects. Additionally, subscribers will receive early insights into seasonal dishes and an insider’s guide to the latest pastry innovations. Subscribing is easy and benefits you long after the last crumb of pie has been devoured. Simply enter your email address below, and rest assured your inbox will be graced with flavorful possibilities only once a month, preventing any unnecessary clutter. —
What You’ll Need
Materials
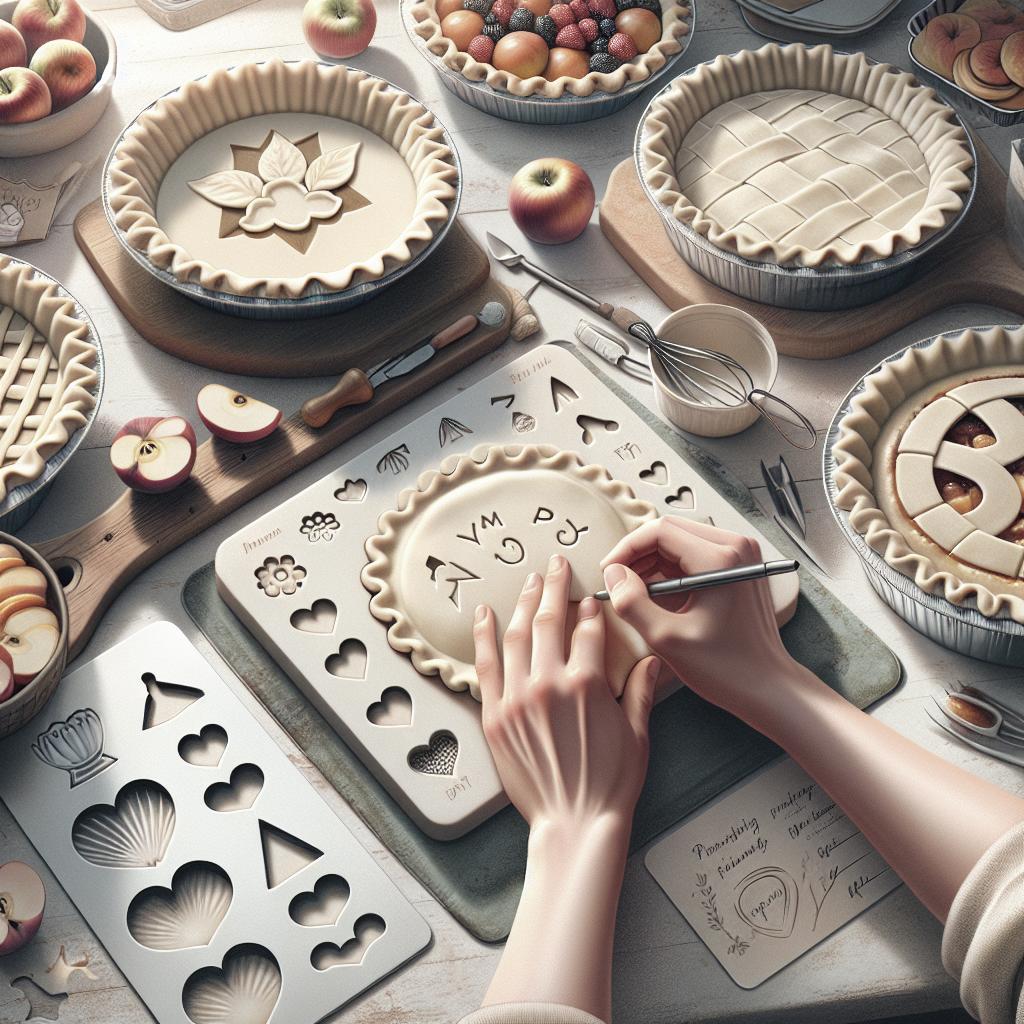
To create personalized pies, gather the following key items: a quality pie tin (preferably non-stick), a rolling pin, a pastry cutter, and an assortment of decorative cutters or stamps. These tools will aid in shaping and molding your crust to perfection, ensuring that your pie is as beautiful as it is delicious. Don’t forget a reliable oven thermometer to ensure consistent baking temperatures, as this can make or break the end result. In addition to utensils, you’ll need fresh, impactful ingredients. These include all-purpose flour, unsalted butter, sugar, salt, and your choice of fruit or filling. Whether you’re opting for classic apple, rich chocolate ganache, or seasonal pumpkin, selecting quality ingredients will reflect in your pie’s final flavor. For an added personal touch, consider unique spices and extracts like cinnamon or vanilla to enhance the taste. —
Instructions
Embarking on the pie-making journey starts with crafting the crust. First, mix your dry ingredients: flour, sugar, and a pinch of salt. Blend in cold, cubed butter using a pastry cutter or fork until the mixture resembles fine crumbs. Gradually add cold water, gently kneading just until a dough forms. Wrap this dough in plastic wrap and refrigerate for at least an hour—a crucial step to ensure a flaky texture. While the dough chills, it’s time to prepare your filling. If you’re using fruit, ensure it’s fresh and ripe for a burst of natural sweetness. Mix your chosen filling ingredients—such as sliced fruits, sugar, and spices—in a bowl, allowing them to combine and marry flavors. Preheat your oven to 375°F (190°C) and keep your pie tin within reach. Once your dough has rested, roll it out on a floured surface to the desired thickness; usually about 1/8 inch. Gently place the rolled dough into your pie tin, cutting away any excess that hangs over the edges. Pour in your meticulously prepared filling, and add a decorative top crust if desired. A lattice pattern or intricate cut-outs add charm. Bake in the preheated oven for 45-50 minutes, or until the crust is golden and the filling bubbly.
Chonky Boys: The Chocolate Chip Cookie Ice Cream Sandwiches that Scream Summer!
For a twist on traditional pie gifting, consider the Chonky Boys. This delightful alternative combines the comfort of cookies and the refreshing pleasure of ice cream. You will need your favorite chocolate chip cookie dough and a pint of your choice ice cream. Bake the cookies until golden brown but still soft on the inside. Allow them to cool completely before assembly. Once cooled, it’s time to fill them with ice cream. Allow the ice cream to soften slightly, then scoop a generous amount onto a cookie and press another cookie on top, creating a sandwich. Roll the edges of the ice cream sandwich in your choice of sprinkles, mini chocolate chips, or crushed nuts for added texture and personalize the treat further. Wrap individually in parchment paper and store in the freezer until firm. These Chonky Boys are the perfect summer treat that marry the comfort of cookies with the coolness of ice cream, making them perfect for hot days or special celebrations. —
Lessons Learned
Through this journey of personalized pie-making, we see the joy that thoughtful preparation can bring to gift-giving. Below, a table highlights the key elements discussed:
| Step | Details |
|---|---|
| Subscribe | Join our newsletter for baking tips and exclusive recipes. |
| Materials | Gather essential tools like a pie tin, rolling pin, and quality ingredients. |
| Instructions | Follow the step-by-step guide to craft delicious pies and Chonky Boys. |
| Personal Touch | Incorporate unique flavors and decorative touches to personalize your pies. Experiment with alternatives like the Chonky Boys to add variety. |
By understanding each step and perfecting the art of pie-making, your personalized pies and delightful treats like Chonky Boys will bring joy and flavor to anyone lucky enough to receive them. Happy baking!